 88484 15522


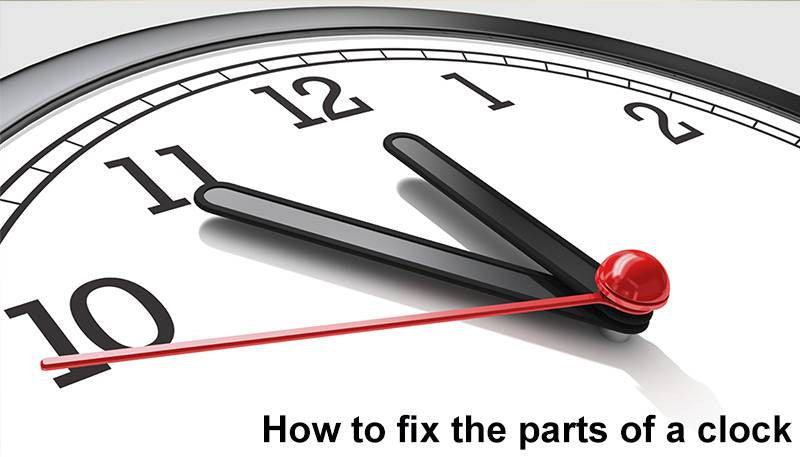
How to fix the parts of a clock
This blog is a tutorial on fixing the parts of our personalized wall clock!
In the above video, Zenia demonstrates the fixation in a chronological order helping you understand them crisp and clear.
The clock must have reached the customer with the parts separate, the hands and the frame each packed up. This is done for secure packing and safer transportation.
The fixation of the parts is as follows:
- Fix the machine part as shown from behind so that the knob is just visible in front to accommodate the bolt and hands.
- Then from front, fix the washer if present (may differ according to the model of clock) on to the knob.
- Now use the bolt and rotate above the washer to tighten the machine on to the clock.
- Fixation of hands is quite simple, however, the order is important for proper functioning.
- First goes in the hour hand. It has to be pressed over the knob seen beyond the tightened bolt.
- Then goes in the minute and the second hand, similarly pressed and ensured it’s tight enough.
That’s it; the personalized clock is in perfect shape to function!
For any queries or help, leave a comment below.
Comments
Thanks to you, I now realize that the second hand should be the last element inserted into the center of a clock. Anyway, there’s a wall clock in my office that needs to be fixed. I guess sending it to a professional for further repair could be something to consider. http://www.johnagillclockrepair.com